
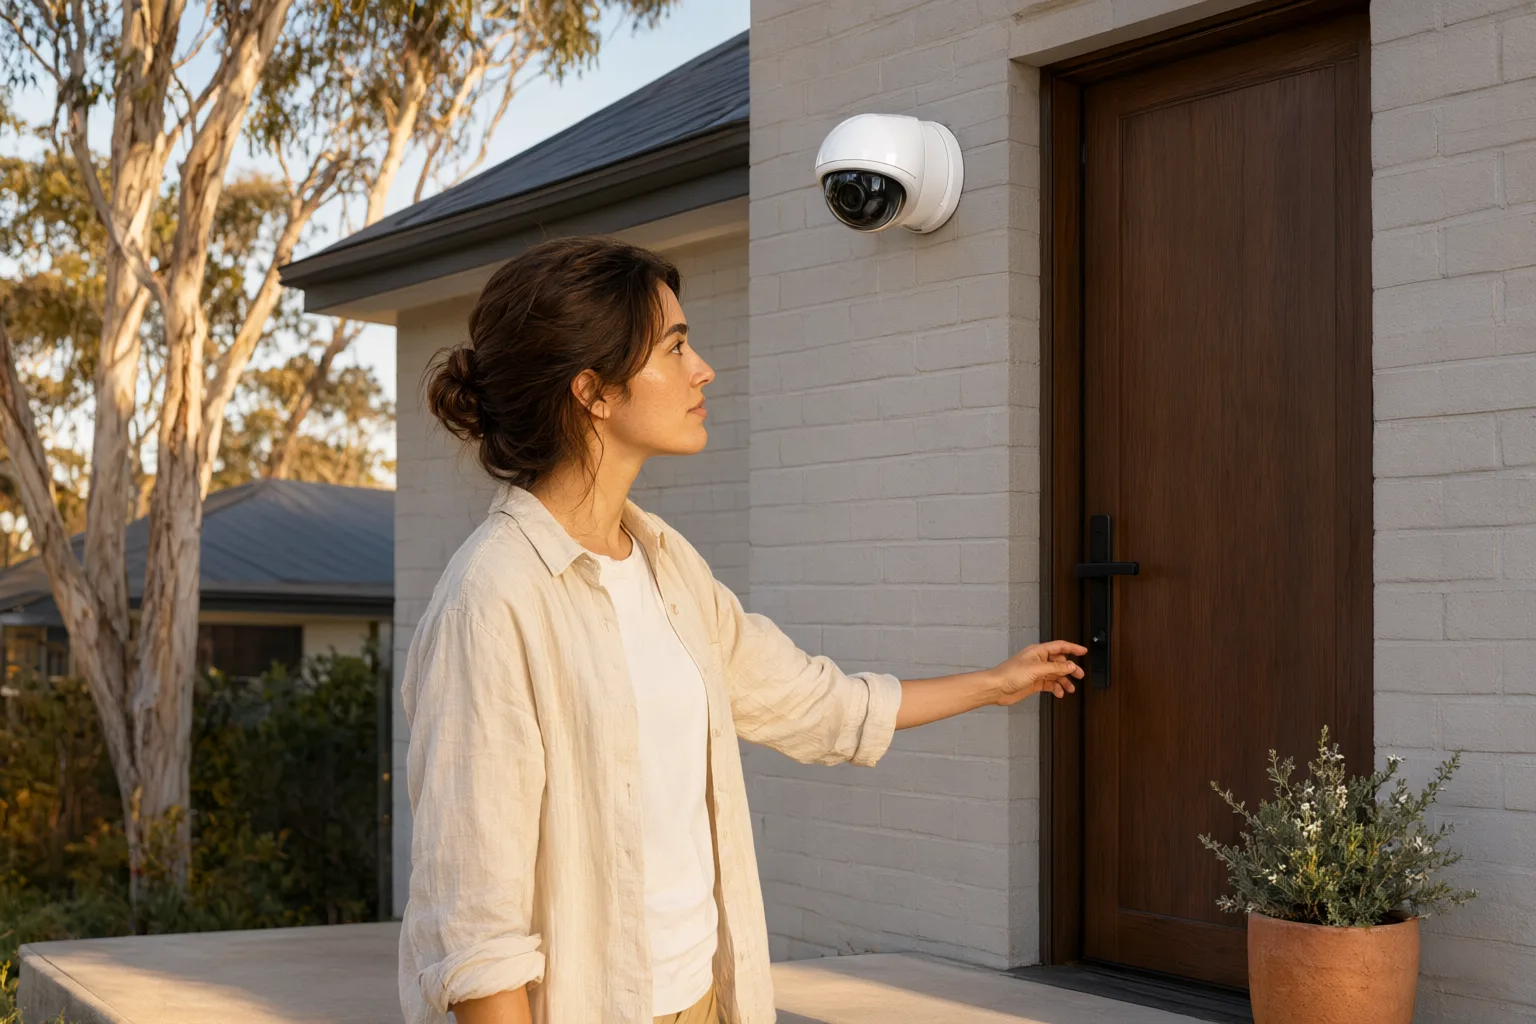
Key Takeaways
- Mount cameras between 1.6m and 2.1m high to capture faces, not scalps
- Position cameras 2 to 3 metres from the door for optimal identification distance
- Angle the lens 15 to 30 degrees downward to capture approach paths
- Avoid backlighting from the afternoon sun by facing north or south where possible
- Use a camera with at least 4MP resolution and WDR for Australian porch conditions
- Combine a dedicated face camera with a wide-angle overview camera for complete coverage
Why Most Front Door Cameras Fail to Capture Faces
We see it constantly across Sydney and regional NSW: a homeowner invests in a quality security system, mounts the camera high under the eaves for a 'better view', and ends up with crystal-clear footage of the top of a visitor's head. When a package goes missing or an unwanted caller arrives, that footage is useless for identification.
The problem is geometry. When a camera is mounted at 2.4 metres or higher and pointed downward to cover the doorstep, the angle becomes too steep. By the time a person is close enough to ring the bell, you are looking directly down at their crown. Facial features are obscured by the forehead and hat brims, and shadows from the porch roof often darken the face entirely.
For NSW Police to use your footage in an investigation, they need a clear, front-on view of the face at a reasonable resolution. That means rethinking the traditional 'high and wide' approach and treating your front door camera as a dedicated identification tool, not just a general overview.
The Optimal Height for Front Door Camera Placement
The sweet spot for facial capture is between 1.6 and 2.1 metres from the ground. This places the lens at roughly chest to eye level for the average adult, allowing the camera to look slightly up at visitors rather than down on them. At this height, you capture the full face as someone approaches the door, not just when they are standing directly underneath the camera.
If you have a raised porch or steps, measure from the landing where visitors actually stand, not from the ground below. For homes with a portico or verandah, mounting on the wall beside the door at 1.8 metres often works better than mounting on the ceiling above.
For units and townhouses where body corporate rules restrict external mounting, a peephole camera or a discreet doorbell camera positioned at 1.5 metres can achieve similar results without drilling into common property.
Distance and Angle: Getting the Geometry Right
Height is only half the equation. The distance between the camera and the subject determines how large the face appears in the frame. For reliable identification, you want the face to occupy at least 15 to 20 percent of the image height.
With a standard 2.8mm or 4mm lens, this means positioning the camera 2 to 3 metres from where visitors stand. If your porch is narrow, mount the camera on the adjacent wall rather than directly above the door. This lateral position captures visitors as they approach along the path, giving you multiple frames of their face before they reach the doorstep.
Angle the camera 15 to 30 degrees downward. This compensates for the slight upward tilt needed at lower mounting heights and ensures you capture the approach path, not just the doorstep. Avoid the temptation to cover the entire front yard with one camera; that is the job of a second, wider-angle camera mounted higher up.
Dealing with Australian Light and Weather Conditions
Australian light is harsh. A front door that faces west will be blasted with afternoon sun, creating strong backlighting that turns visitors into silhouettes. East-facing doors have the same problem in the morning. If your camera faces the sun, no amount of resolution will save the image.
Look for cameras with Wide Dynamic Range (WDR) or, better yet, Hikvision's ColorVu or Dahua's Full-colour technology. These sensors balance bright backgrounds with shadowed faces, which is essential for covered porches where the visitor is in shade but the background is bright.
For coastal homes from Wollongong to Newcastle, salt air corrodes cheap housings quickly. Choose cameras with an IP67 rating and corrosion-resistant brackets. In bushfire-prone areas, ensure cables are run in metal conduit and the camera housing is ember-resistant. Our installers always use UV-stable cabling and sealed junction boxes for NSW conditions.
Camera Specifications That Actually Matter for Identification
Resolution is important, but it is not the only factor. A 4MP camera at the right height will outperform an 8MP camera mounted poorly. That said, for front door identification, we recommend a minimum of 4MP (2688 x 1520) with a 2.8mm or 4mm fixed lens. This gives you enough pixels to zoom in on a face without excessive digital noise.
Infrared (IR) night vision is standard, but check the IR range. For a typical suburban porch, 10 to 15 metres is sufficient. If your entrance is set back from the street, consider a camera with ColorVu or Starlight technology, which captures full-colour images in low light without the ghostly white IR glow that can wash out facial features.
Power over Ethernet (PoE) is strongly preferred over Wi-Fi for front door cameras. A hardwired connection is immune to NBN dropouts and provides consistent power for 24/7 recording. If running cable is impossible, a quality wireless camera with a strong signal and local SD card backup is acceptable, but expect to recharge batteries or rely on solar panels in shaded entryways.
Common Front Door Camera Placement Mistakes to Avoid
The most frequent error is mounting the camera too high 'to prevent tampering'. While security is a concern, a camera at 2.4 metres that captures no faces is less valuable than a camera at 1.8 metres that captures clear identification. Use a vandal-resistant dome or a camera with a protective housing if tampering is a worry.
Another mistake is pointing the camera directly at a glass door or sidelight. Reflections during the day and IR bounce-back at night will obscure the image. Angle the camera slightly away from glass, or use a camera with adjustable IR intensity.
Finally, do not rely on a single camera to do everything. A wide-angle camera covering the driveway and a dedicated face camera at the door is the professional standard. This dual-camera approach is what we design for most Sydney homes, ensuring you have both context and identification.
When to Call a Professional Installer
If your front door has complex architecture, multiple entry points, or you need to integrate the camera with an intercom or access control system, professional design is worth the investment. Our licensed NSW installers assess sightlines, lighting, and cable paths during a free on-site consultation.
We often find that the ideal position for facial capture conflicts with aesthetics or body corporate rules. A professional can recommend discreet housings, paintable brackets, or alternative positions that satisfy both security and strata requirements.
With our 5-step installation process, we handle everything from initial design to final handover and training. You get a system that captures faces, not frustration, backed by lifetime support and professional-grade hardware from Hikvision, Dahua, Uniview and Axis.
Front Door Camera Placement: Recommended Specifications
| Parameter | Recommended Range | Why It Matters |
|---|---|---|
| Mounting Height | 1.6m – 2.1m | Captures faces at eye level rather than the top of the head |
| Distance from Door | 2m – 3m | Ensures face occupies 15-20% of frame for reliable ID |
| Vertical Angle | 15° – 30° downward | Covers approach path while maintaining facial visibility |
| Minimum Resolution | 4MP (2688 x 1520) | Sufficient pixel density for facial recognition and police evidence |
| Lens Focal Length | 2.8mm – 4mm | Balances field of view with subject size at typical porch depths |
| Night Vision | ColorVu or Starlight preferred | Full-colour low-light imaging without IR washout on faces |