
Key Takeaways
- Mount most home cameras between 2.4m and 3m for the best balance of facial detail and tamper resistance.
- Front door and doorbell cameras work best lower, around 1.2m to 1.6m, to capture faces at eye level.
- Mounting too high (above 4m) causes 'top of head' footage that fails police identification standards.
- Australian eaves on single-storey brick veneer homes typically sit at 2.4m to 2.7m — a natural mounting point.
- Camera lens type matters: a 2.8mm wide-angle lens tolerates lower mounting than a 4mm or 6mm lens.
- Licensed NSW installers position cameras to comply with privacy laws and optimise night vision performance.
The Short Answer: 2.4 to 3 Metres for Most Home Cameras
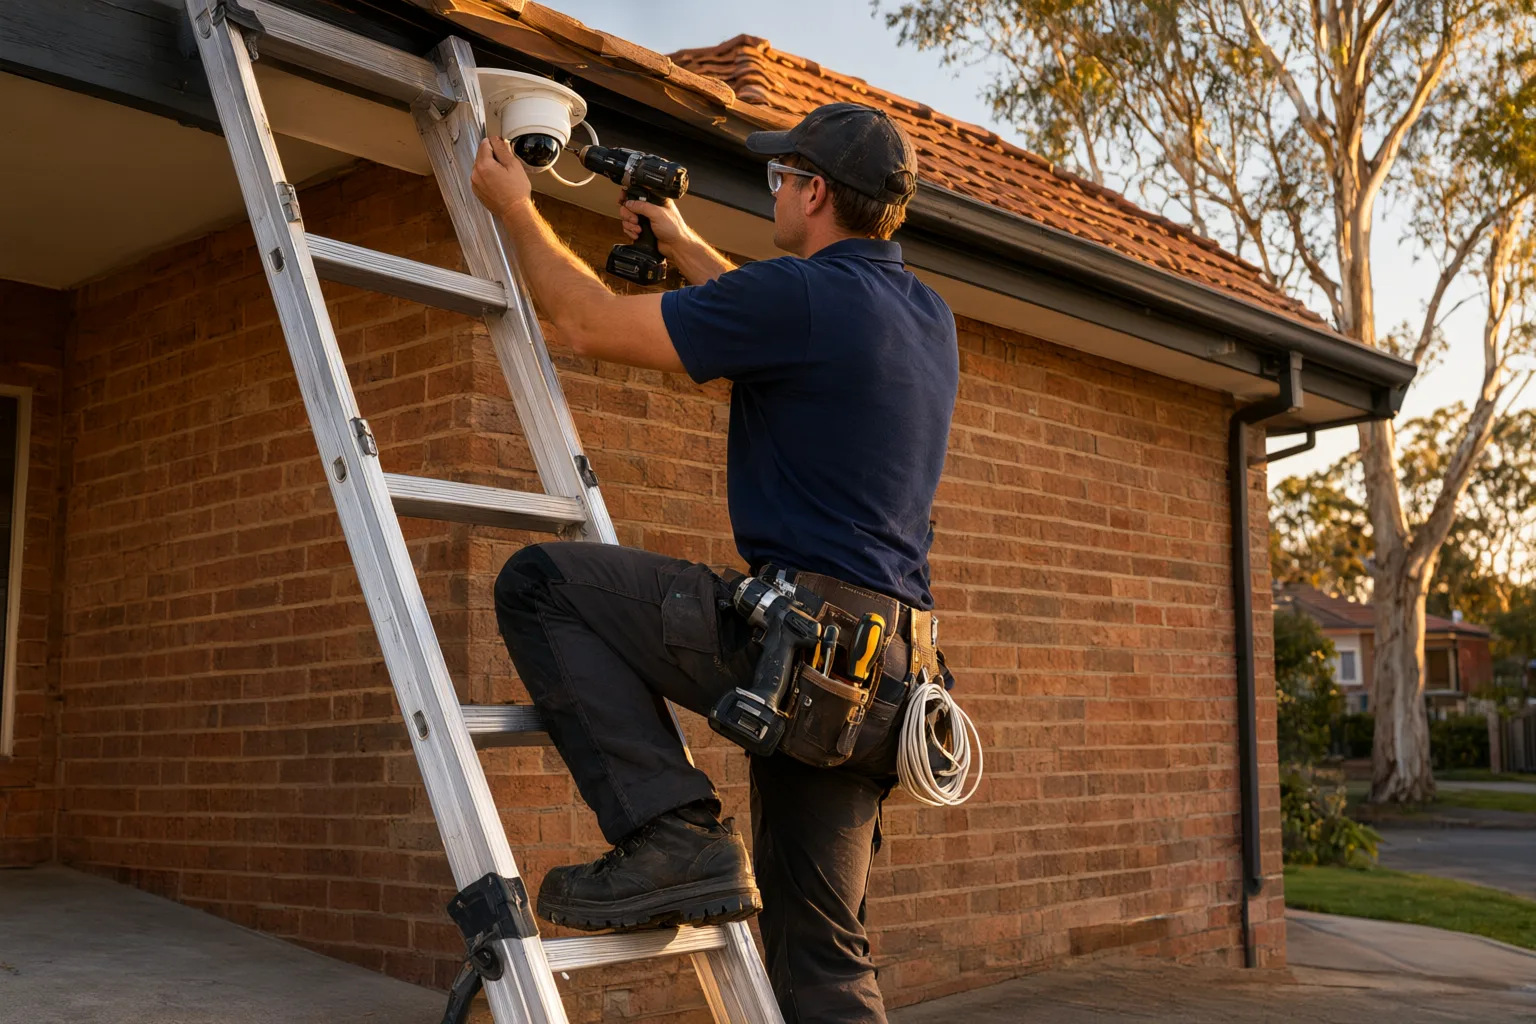
After installing thousands of cameras across Sydney, Newcastle, the Central Coast and regional NSW, we can tell you the sweet spot for most residential security cameras is 2.4 to 3 metres above ground level. At this height, a camera captures faces at a slight downward angle — ideal for identification — while staying high enough that an intruder cannot simply reach up and knock it off the wall or spray the lens.
This range also happens to match the standard eave height on most Australian single-storey homes. Brick veneer and weatherboard homes built since the 1980s typically have eaves at 2.4 to 2.7 metres, which means your installer can mount cameras under the eave line where they are sheltered from direct rain and harsh summer sun. That protection matters in Australian conditions, where UV exposure and heat cycling degrade cheaper camera housings within a few years.
The 2.4 to 3 metre rule applies to fixed-lens bullet and turret cameras covering driveways, side passages, backyards and front yards. It is a starting point, not a law — the right height for your property depends on what you are trying to capture, which we break down below.
Why Mounting Height Matters More Than Camera Price
We regularly get called to homes where the owner has spent good money on quality cameras but mounted them at 4 or 5 metres 'to get a better view'. The result is footage showing the top of everyone's head — useless for identifying anyone. NSW Police will tell you the same thing: for footage to be evidentiary, you need a clear, front-on or near-front-on view of a face.
Height affects three things simultaneously: identification quality, coverage area and tamper resistance. Mount lower and you get better faces but a narrower field of view and easier access for vandals. Mount higher and you get wider coverage but lose facial detail. The 2.4 to 3 metre range is where these three factors intersect for a typical suburban block.
There is also a night vision consideration most DIY guides miss. Infrared LEDs have a limited effective range — typically 20 to 30 metres on professional-grade cameras like the Hikvision ColorVu or Dahua Full-Colour series. Mount a camera too high and the IR light disperses before it reaches ground level, leaving you with dark, grainy night footage exactly where you need it most.
Recommended Mounting Heights by Camera Location
Different locations around your home call for different heights. Here is what we recommend and install across NSW homes every week.
- Front door / entry: 1.2m to 1.6m for doorbell cameras and dedicated face-capture cameras — eye level gives the clearest identification.
- Driveway and front yard: 2.4m to 3m under eaves, angled to cover the driveway entrance and any vehicles parked overnight.
- Side passages and gates: 2.4m to 2.7m — these narrow corridors are common entry points and benefit from a slightly lower mount for facial detail.
- Backyard and alfresco: 2.4m to 3m, positioned to cover rear doors, windows and entertaining areas without pointing into a neighbour's yard.
- Garage and shed: 2.2m to 2.5m internally, or 2.4m to 3m on external walls — detached sheds often need a solar-powered or 4G camera on rural properties.
- Second-storey overview cameras: 4m to 6m only for wide situational awareness, always paired with lower cameras for identification.
- Number plate capture (ANPR): 1m to 1.5m at driveway entry points, angled across the plate zone — height kills plate readability.
How Lens Choice Changes the Ideal Height
Mounting height and lens focal length work as a pair. A 2.8mm wide-angle lens — the most common choice for home installations — captures a horizontal field of view around 100 to 110 degrees. At 2.5 metres high, that covers a driveway or side passage beautifully and still resolves a face at 5 to 8 metres distance.
Step up to a 4mm or 6mm lens and the field of view narrows to roughly 80 or 50 degrees respectively. These lenses reach further but cover less width, so they suit longer driveways or monitoring a specific gate from further back. With a narrower lens, you can mount slightly higher (up to 3.5 metres) and still get usable facial detail at distance, because the pixels are concentrated on a smaller area.
This is why professional installers do a site design before drilling anything. During our consult, we measure eave heights, map entry points, check sight lines around Colorbond fences and established gum trees, and match each camera's lens to its mounting position. A camera that is perfect at 2.5 metres with a 2.8mm lens can be nearly useless at the same height with the wrong lens.
Australian Conditions That Affect Mounting Height
Australia throws some unique challenges at camera placement. In coastal suburbs from Cronulla to Coffs Harbour, salt air corrodes exposed mounts and connectors — mounting under eaves at 2.4 to 2.7 metres gives cameras meaningful protection and extends their working life by years. We always use stainless fixings and sealed junction boxes in coastal installs.
In bushfire-prone areas, cameras mounted on external walls need to be clear of combustible cladding zones and positioned so ember attack does not destroy your only record of what happened. Heat is another factor: a camera mounted high on a north-facing Colorbond wall cops radiant heat all summer. Professional-grade cameras from Hikvision, Dahua, Uniview and Axis are rated for Australian temperatures, but mounting under an eave still reduces thermal stress.
Storms matter too. A camera on an exposed gable end at 5 metres takes the full force of wind-driven rain. The same camera at 2.5 metres under a 450mm eave stays dry in all but the worst weather. For rural and farm properties, where cameras often mount on sheds, silos or poles, we adjust heights for machinery clearance — a camera at 2.5 metres will not survive long beside a working farm driveway, so 3.5 to 4 metres with a longer lens becomes the practical choice.
Privacy, Legal and Neighbour Considerations in NSW
Mounting height has a legal dimension. In NSW, you are generally entitled to film your own property, but cameras angled over a neighbour's yard, pool or windows can breach privacy expectations and, in some cases, the Surveillance Devices Act 2007 (NSW). Height influences angle: a camera at 2.5 metres angled slightly downward naturally captures your yard and stops at the fence line. The same camera at 5 metres tilted down can see straight over a 1.8 metre Colorbond fence.
When we design a system, we physically check each camera's view on a monitor before finalising the mount, and we mask out neighbouring windows in the NVR where needed. It is a small step that prevents disputes and keeps your footage admissible. If a camera position genuinely cannot avoid capturing a sliver of next door's yard, we reposition or use privacy masking rather than leave it to chance.
DIY vs Professional Installation: Getting Heights Right First Time
Consumer DIY kits usually ship with a one-size-fits-all instruction: 'mount 2 to 3 metres high'. That is not wrong, but it ignores lens choice, eave height, cable runs, Wi-Fi signal strength and power access. We see the results regularly — cameras mounted on fences at 1.8 metres (easily grabbed), cameras at 5 metres on two-storey gables (tops of heads), and battery cameras mounted so high the owner needs an extension ladder every time the battery dies.
A professional installation follows a defined process: consult, design, install, configure and handover with training. During the design stage we mark exact mounting heights for every camera, run cabling through roof cavities rather than along external walls, and configure motion detection zones matched to each camera's actual field of view. Because we are licensed and insured NSW installers, every mount, cable penetration and connection is done to standard — and backed by lifetime support.
If you already have cameras and suspect the heights are wrong, a repositioning visit is usually quick and affordable. Moving two or three cameras from 4 metres down to 2.7 metres is often the single biggest improvement you can make to an existing system.
Recommended Mounting Heights by Camera Position
| Camera Location | Ideal Height | Typical Lens | Primary Goal |
|---|---|---|---|
| Front door / doorbell | 1.2m – 1.6m | 1.6mm – 2.8mm | Face capture at eye level |
| Driveway & front yard | 2.4m – 3m | 2.8mm – 4mm | Faces + vehicle coverage |
| Side passage & gates | 2.4m – 2.7m | 2.8mm | Facial identification |
| Backyard & alfresco | 2.4m – 3m | 2.8mm – 4mm | Doors, windows, coverage |
| ANPR / plate capture | 1m – 1.5m | 6mm – 12mm varifocal | Readable number plates |
| Second-storey overview | 4m – 6m | 2.8mm wide angle | Situational awareness only |
| Farm shed / pole mount | 3.5m – 4.5m | 4mm – 6mm | Machinery clearance + reach |