
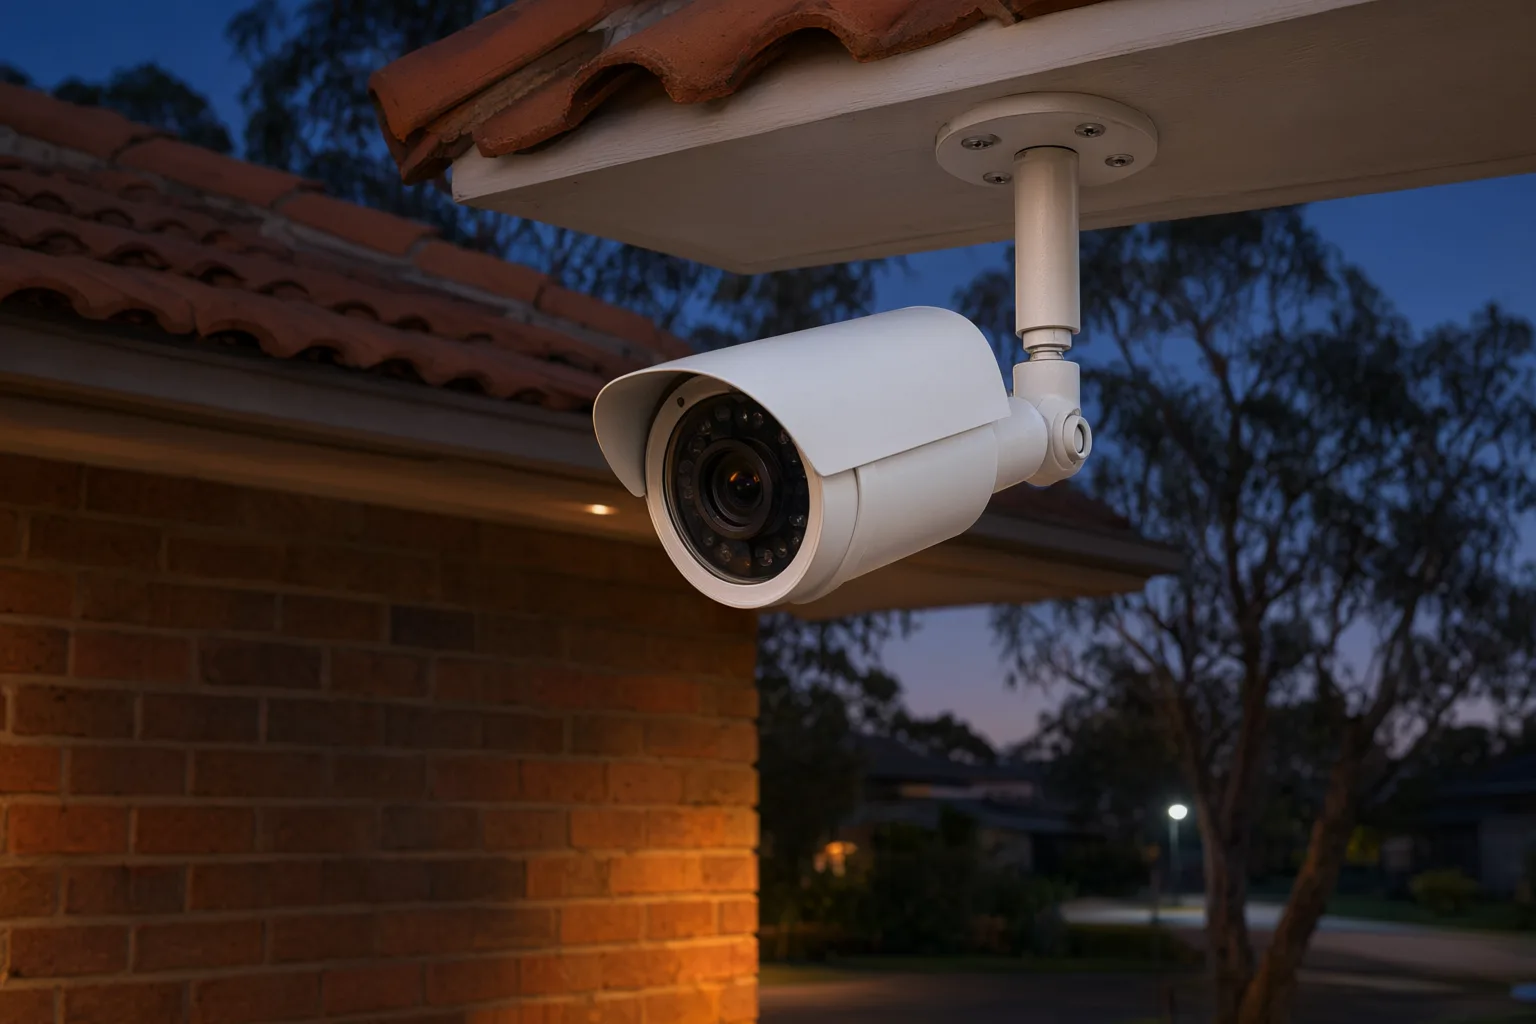
Key Takeaways
- Keep camera lenses 30–50 cm clear of walls, eaves and gutters to stop IR reflection
- Mount cameras 2.5–3 metres high for the clearest night vision in Australia
- Smart IR on Hikvision and Dahua cameras automatically reduces bounce-back
- Always test footage after dark before signing off an installation
- Licensed installers in Newcastle NSW and Adelaide SA prevent bounce-back from day one
What Is Infrared Bounce-Back and Why Does It Ruin Night Footage?
The short answer: infrared bounce-back happens when your CCTV camera's own IR LEDs reflect off a nearby surface like an eave, wall or gutter, washing out night footage in a foggy white glare. You can typically avoid infrared bounce-back on CCTV by keeping the lens 30–50 cm clear of surfaces, mounting at 2.5–3 metres, and enabling Smart IR. Here's how Aussie homes and businesses fix it.
When a camera is mounted too close to a wall, eave, soffit, downpipe or even a spider web, the IR light hits that surface and reflects straight back into the lens. The sensor gets flooded, the camera's exposure compensation kicks in, and the result is footage that looks foggy, washed out, or completely white in one corner of the frame. This is infrared bounce-back, and it's the single most common reason DIY camera installs produce useless night footage.
The frustrating part is that the camera looks perfectly fine during the day. Many homeowners only discover the problem after a break-in attempt, when they pull up the recording hoping to identify a face and find a glowing white haze instead. Getting the positioning right from day one is far cheaper than repositioning cameras after the fact.
Are These the Most Common Causes of IR Bounce-Back in Australian Homes?
Across years of installing CCTV throughout NSW, the same handful of culprits cause almost every bounce-back callout. The classic offender is the camera mounted hard under an eave or soffit. It feels like the natural spot — sheltered from rain and harsh Australian sun — but the soffit sits centimetres from the lens and reflects IR light straight back in.
Light-coloured surfaces make things worse. Fresh white render, pale Colorbond cladding, glossy painted brickwork and even light grey Colorbond roofing all reflect infrared strongly. A camera aimed along a pale wall will often show a bright white stripe down one side of the frame at night.
Then there are environmental factors unique to Australian conditions. Spider webs are a massive one — a single web in front of a dome camera catches IR light and glows like a torch, while the spider itself wanders across the lens all night triggering motion alerts. Dust, pollen, salt film on coastal properties, and condensation inside dome housings all scatter IR light the same way. In bushfire-prone areas, fine ash settling on the lens produces a permanent haze until it's cleaned off.
- Camera tucked under an eave, soffit or gutter
- Lens positioned within 30cm of a wall, downpipe or fascia
- Light-coloured render, cladding or Colorbond in the frame
- Spider webs, dust, salt film or condensation on the lens or dome
- Rain droplets on the dome cover scattering IR light
- A second camera's IR LEDs shining into the first camera's view
How to Position Cameras to Eliminate Infrared Reflection
The golden rule is clearance. Mount the camera so the lens sits at least 30 to 50 centimetres clear of any surface — wall, soffit, fascia or gutter. If you're [[what-is-the-ideal-mounting-height-for-home-security-cameras-in-australia|mounting]] under an eave, use a drop-down bracket or pendant mount that brings the camera body below the eave line entirely, so nothing sits within the IR throw zone.
Angle matters just as much. Tilt the camera slightly downward — usually 15 to 30 degrees — so the IR light projects out into open space rather than along a wall. If the camera must sit near a wall, angle it away from the surface, even if that means adjusting the field of view. A slightly narrower view with clean footage beats a wide view that's white on one side.
Think about what sits in the foreground of the frame. A camera watching a driveway should not have the garage door, a fence panel or a parked car's bonnet filling the bottom third of the image — those close surfaces bounce IR back and force the camera to dim the whole scene, turning the actual target area dark. Frame the shot so the nearest reflective surface is at least two to three metres away.
Finally, never point two [[eaves-mounting-vs-wall-mounting-pros-and-cons-for-cctv-cameras|cameras]] directly at each other. Each camera's IR LEDs will blind the other's sensor, producing flaring and exposure hunting all night. Stagger heights and angles so the IR fields don't overlap head-on.
Which Mounting Heights, Brackets and Installation Choices Matter Most?
Height plays a bigger role than most people expect. [[how-high-is-too-high-the-trade-off-between-vandal-proofing-and-image-detail|Mounting]] a camera around 2.5 to 3 metres above ground level gives you a good balance: high enough to deter tampering and capture faces rather than just heads, low enough that the IR beam spreads usefully across the target area instead of skimming along a roofline or fence.
Bracket choice directly affects whether you can achieve proper clearance. A standard flush mount screws the camera tight against the wall, which is precisely what causes side-of-frame white-out. Drop-down brackets, gooseneck mounts and pendant mounts push the camera body away from the structure, giving the IR light room to disperse before anything can reflect it back.
Cable routing matters too. Running cable down an external wall right beside the lens creates another reflective surface in the IR throw zone, and exposed conduit can collect dust and webs. Where possible, route cabling through the eave or behind cladding so nothing sits between the camera and its field of view.
For corner installations — say, covering two sides of a house from a single corner post — remember that both adjacent walls are potential reflectors. Pull the camera forward on an extended bracket and bias the angle toward the more important approach path.
Can Camera Technology Reduce Bounce-Back Automatically?
Good positioning solves most problems, but modern camera hardware adds a second layer of protection. Smart IR, found on professional-grade Hikvision and Dahua cameras, automatically reduces IR intensity when a subject gets close to the lens — so a person walking up a path doesn't blow out into a white ghost.
Hikvision's ColorVu range takes a different approach entirely, using large-aperture lenses and warm supplemental white light to capture full-colour footage at night, which sidesteps many IR reflection issues altogether. Dahua's Full-Colour and Starlight models do similar work in low light. For number plates and long driveways, cameras with dedicated ANPR capability and long-range IR with adjustable beam angles let you match the IR spread to the scene instead of flooding everything.
Turret-style cameras are generally more bounce-back resistant than dome cameras, because there's no curved dome cover for IR light to reflect inside. If you've ever seen a dome camera with a white ring or hazy patch at night, that's usually IR reflecting off the inside of its own dome — a problem turrets avoid by design. This is one of the reasons we favour turret form factors for most residential installs.
Should You Test Your Camera Positions After Dark?
Never sign off on a camera position based on daytime footage alone. The only real test is to check the live view after dark, ideally with someone walking through the scene. Look for white haze in corners, glowing spots, or the whole image dimming when something enters the foreground. Small angle adjustments of even five degrees can transform the picture.
Test each camera against its actual purpose. A camera meant to capture faces at a front door needs to be checked with someone standing at the door; a driveway camera needs a car parked where cars actually park. Review recorded playback as well as live view, because compression artefacts can exaggerate haze in recordings.
If you spot problems, adjust one variable at a time — tilt first, then yaw, then bracket extension — checking the night view after each change. Photographing the monitor screen or saving snapshots makes it easier to compare adjustments objectively.
Do You Need Ongoing Maintenance for Clean Night Vision?
Maintenance is the other half of the equation. Wipe lenses and dome covers every few months with a soft microfibre cloth — more often on coastal properties where salt film builds up quickly, and after storm season. Clear spider webs as soon as they appear; some installers apply a light coating of spider deterrent around mounts, which genuinely helps.
Check that seals on dome housings remain intact so condensation can't form inside. A fogged dome that was clear last month usually means a gasket has failed or a cable gland has let moisture in, and it needs resealing before the next wet season.
Bushfire ash, construction dust and spring pollen all settle on lenses faster than normal grime. After any dusty event, add a quick lens check to your routine. It takes thirty seconds per camera and prevents weeks of degraded footage going unnoticed.
Is It Possible to Fix Existing Installations With Poor Night Footage?
If your cameras are already installed and the night footage is poor, don't assume you need a whole new system. The fix is often a simple repositioning, a bracket change, or a dome-to-turret swap. Start by diagnosing the symptom using the table below, then match the remedy.
Where the camera is hard against an eave, swapping to a drop-down bracket typically costs far less than replacing the camera itself. Where IR reflects inside a dome, reseating the gasket or switching to a turret body resolves it. Where a second camera blinds the first, staggering heights or adjusting angles costs nothing but time.
Only consider new hardware once positioning and cleanliness have been ruled out. At that point, upgrading to a model with Smart IR, adjustable IR intensity or full-colour low-light performance addresses the problem at the sensor level.
Why Professional Installation Prevents Bounce-Back From Day One
Avoiding IR bounce-back isn't guesswork — it's site survey knowledge. Our licensed and insured NSW installers assess every mounting point for reflective surfaces, eave lines, foreground obstructions and overlapping IR fields before drilling a single hole. We carry drop-down brackets, junction boxes and pendant mounts on the truck so cameras sit exactly where they should, not where it's easiest to screw them in.
Every installation follows our five-step process — consult, design, install, configure, and handover with training — and the configure step includes a full night-vision check of every camera, with angles fine-tuned under real darkness. We install professional-grade Hikvision, Dahua, Uniview and Axis hardware with Smart IR and proper exposure control, and every job comes with lifetime support.
If a spider web or a new extension ever spoils your footage, we're a phone call away. Get in touch for a free quote and we'll design a system that sees clearly around the clock.
In [[/newcastle|Newcastle]] NSW, coastal humidity and salt air make reflective grime build up on lenses faster than inland areas, so bounce-back complaints spike after storm season. In [[/adelaide|Adelaide]] SA, dry dusty summers coat domes in fine particles that scatter infrared light exactly like fog does. Both climates reward regular lens cleaning and careful positioning away from weather-exposed eaves.
Under Australian law, CCTV installed at a home or business must respect the Privacy Act 1988 and, in NSW, the Surveillance Devices Act 2007 — cameras pointed only at your own property avoid most compliance headaches. A licensed installer will also confirm your mounting points don't breach strata rules if you're in a unit complex, which matters because re-drilling brick or rendered walls after a bad install can trigger disputes.
Pricing matters too. In Australia, professional CCTV installation typically costs $150–$250 per camera plus the hardware, with a four-camera residential package commonly landing between $1,800 and $3,500 installed. Commercial sites such as warehouses and retail shops in Newcastle and Adelaide usually run $2,500–$6,000 depending on cable runs through roof spaces and the number of IR-rated cameras required. Getting the position right the first time protects that investment — repositioning a badly placed camera can cost $120–$180 per head callout.
For business owners, workplace surveillance adds another layer: NSW and South Australia both require employee notification where staff are monitored, and poor night vision over entries, loading docks or stockyards can undermine evidence quality if an incident occurs. Clear IR footage isn't just cosmetic — it's what insurers and police actually rely on.
Finally, think about seasonal extremes. Bushfire smoke can hang over properties for days and scatters infrared just like fog, while summer heat above 40°C degrades cheap IR LED output over time. Specifying quality cameras rated for Australian conditions, mounted under sheltered eaves rather than baking in direct sun, keeps night vision sharp for years instead of months.
Comparing CCTV options for avoiding infrared bounce-back in Australia
| Option | Bounce-Back Risk | Best Suited For |
|---|---|---|
| Turret camera on extension bracket | Low — short IR path, easy clearance | Homes under eaves in Newcastle NSW |
| Dome camera flush-mounted | High — curved cover reflects IR | Discreet indoor retail coverage |
| Bullet camera with Smart IR | Low–moderate — adjustable angle | Warehouses and commercial perimeters |
| PTZ camera with external IR | Moderate — needs wide clearance | Farms and large Adelaide SA properties |