
Key Takeaways
- Glare and backlighting are the most common reasons CCTV footage becomes unusable at critical moments.
- Camera placement and angle matter more than resolution when dealing with harsh light.
- True WDR (120dB+) is essential for entrances, driveways and east-west facing walls.
- Sun shields, housings and anti-glare lens positioning prevent most daytime washout.
- Smart IR and separate illuminators stop night-time reflection bounce-back.
- A professional site assessment identifies glare risks before a single camera is mounted.
Why Glare and Backlighting Destroy CCTV Evidence
You can install a 4K camera with perfect coverage and still end up with useless footage. The culprit is almost always light, not resolution. When a camera faces a bright light source — the rising sun, a car's headlights, a floodlit doorway — the sensor compensates by darkening the entire scene. The result is a silhouette where a face should be, or a white blown-out blob where a number plate should be.
In Australia this problem is amplified. Our sun is harsh, our summers are long, and many homes have east or west-facing entries that cop direct low-angle sunlight at exactly the times most incidents occur — early morning and late afternoon. Add reflective Colorbond fencing, glass sliding doors and pale rendered walls, and glare becomes one of the biggest threats to usable CCTV evidence.
The good news is that glare and backlighting are almost entirely preventable with correct placement, the right camera technology, and a few simple accessories. Here's how we approach it on every installation.
Position Cameras Away From Direct Light Sources
The single most effective fix costs nothing: don't point cameras toward the sun or bright lights. Before mounting anything, we map the sun's path across your property. A camera facing east will be blinded every morning; one facing west will struggle every afternoon. Where possible, we mount cameras facing north or south, or tuck them under eaves so the roofline blocks the high sun.
The same principle applies to artificial light. Never aim a camera directly at a porch light, security floodlight or streetlight. If a camera must cover a lit doorway, mount it to the side and angle across the scene rather than shooting straight into the light. This also captures faces in profile and three-quarter view, which is often more useful for identification than a front-on silhouette.
For driveways, avoid mounting cameras at the far end facing back toward the street — oncoming headlights at night will wash out the frame every time a car arrives. Instead, mount the camera on the house side, angled down the driveway, so vehicles are lit from behind the camera rather than shining into it.
Use the Right Camera Angle and Height
Angle matters as much as direction. Cameras mounted too high and aimed too flat capture mostly sky, which tricks the sensor into underexposing everything below. We typically mount cameras at 2.4 to 3 metres and tilt them down 15 to 30 degrees. This keeps the frame filled with the area you actually care about — faces, gates, vehicles — and minimises the amount of bright sky or reflective ground in shot.
A downward tilt also reduces the chance of rain, dust and spider webs catching infrared light at night, which is another common cause of glare-like washout. If you've ever seen footage that looks like a snowstorm of floating orbs, that's IR reflecting off particles close to the lens — usually because the camera is too flat or too close to a wall or soffit.
Choose Cameras With True Wide Dynamic Range
Sometimes you can't avoid a backlit scene — a glass front door, a roller door opening to bright daylight, a hallway with windows at the end. This is where Wide Dynamic Range (WDR) becomes essential. WDR allows the camera to capture detail in both the brightest and darkest parts of the frame simultaneously, so a person standing in a bright doorway doesn't turn into a black silhouette.
Be aware that not all WDR is equal. Many budget cameras advertise 'Digital WDR' (DWDR), which is a software trick that offers modest improvement. Professional cameras from Hikvision, Dahua, Uniview and Axis offer True WDR rated at 120dB or higher, which uses the sensor itself to blend multiple exposures in real time. For genuinely backlit scenes, True WDR is the difference between identifying a face and recording a shadow.
Technologies like Hikvision's ColorVu and DarkFighter, or Dahua's Starlight sensors, also help in mixed lighting by pulling more usable detail out of low-light areas without overexposing bright zones. We specify these on any camera covering an entrance, garage or east-west facing wall.
Fit Sun Shields, Housings and Anti-Glare Accessories
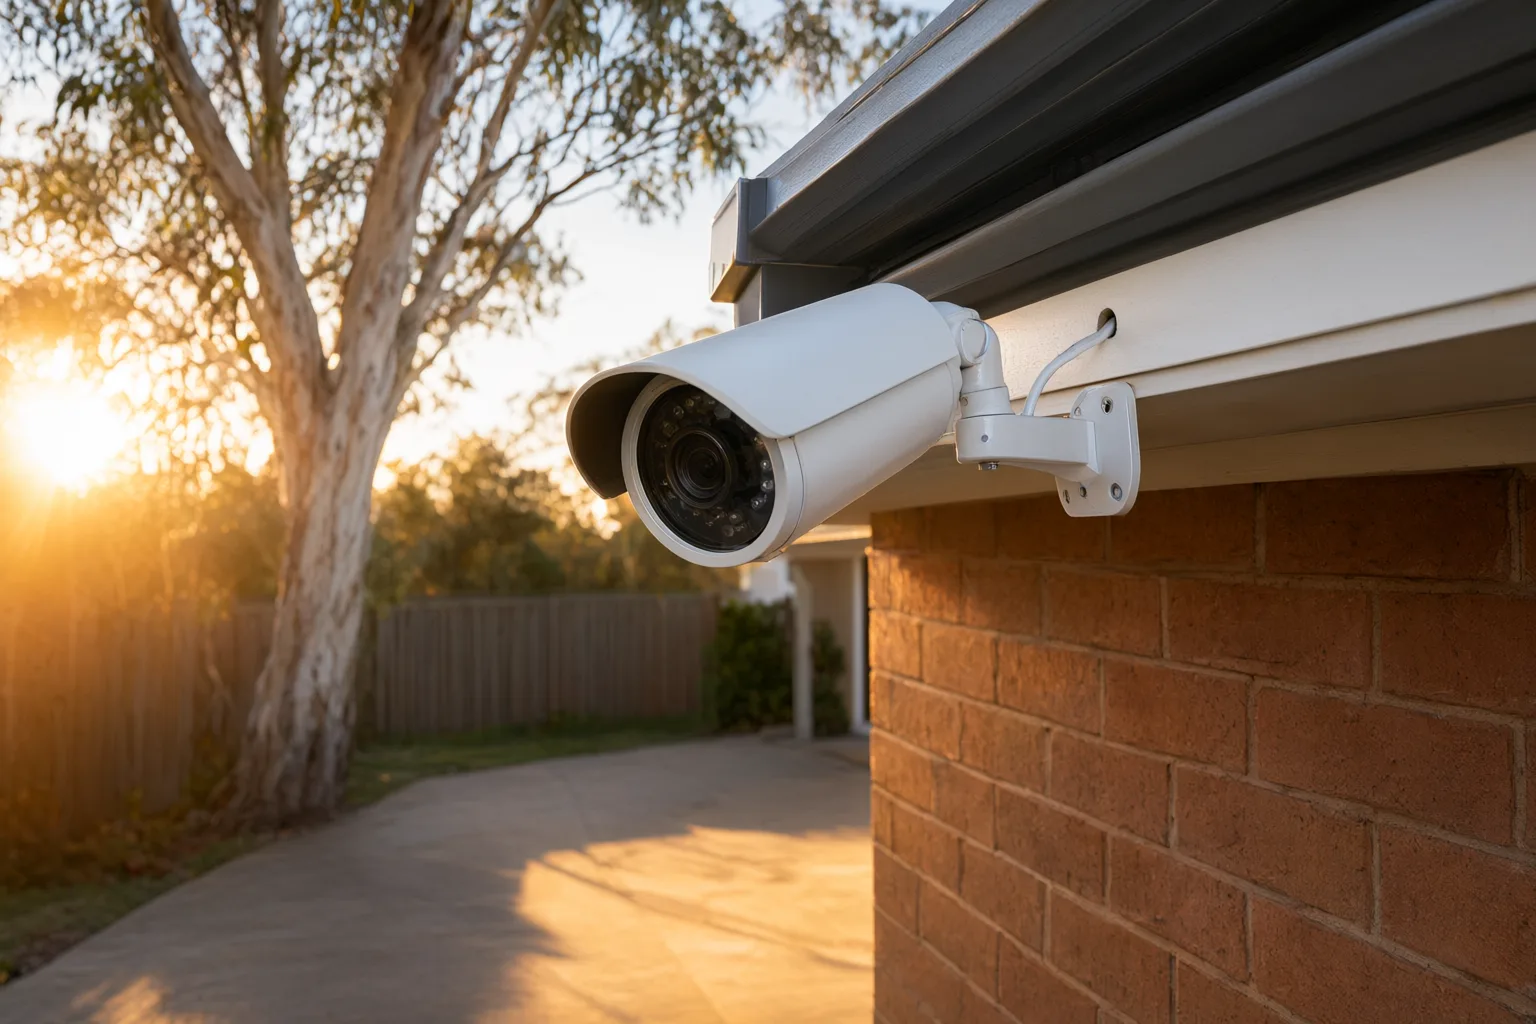
A simple sun shield — the small brim that extends over the lens — blocks high-angle sun and rain from hitting the lens directly. Most professional bullet and turret cameras include one, but it's often removed or adjusted incorrectly during DIY installs. Make sure the shield extends far enough to shade the lens at midday without creeping into the frame.
For exposed positions, external housings with built-in sun shrouds and heaters/fans provide another layer of protection, particularly in western NSW heat or coastal areas where salt haze can film the lens and scatter light. We also use anti-glare lens positioning — slightly recessing the lens within the housing — to cut flare from oblique angles.
At night, watch for IR bounce-back. If a camera's infrared LEDs are too close to a wall, soffit or the camera's own sun shield, the IR light reflects straight back into the lens and whites out the image. Quality cameras use Smart IR to automatically dim the LEDs when objects are close, but correct physical separation is still the best fix.
Adjust Camera Settings for Australian Light Conditions
Even the best hardware needs correct configuration. During handover, we tune each camera's exposure, backlight compensation (BLC) and highlight compensation (HLC) to suit its exact position. HLC is particularly useful for driveways — it detects and dims intense point light sources like headlights, preventing them from flaring across the frame.
We also set shutter speed and gain limits so the camera doesn't overcompensate in bright conditions, and configure day/night switching thresholds so the camera doesn't flicker between modes at dawn and dusk. These are small adjustments that make a large difference, and they're part of why a professionally configured system outperforms an out-of-the-box DIY kit using factory defaults.
Get a Professional Site Assessment Before You Install
Every property has unique glare risks: reflective pool water, white rendered walls, glass balustrades, polished concrete, a neighbour's sensor light that fires across your yard. These are hard to anticipate without experience, and they're the reason we start every job with an on-site assessment rather than a quote over the phone.
Our 5-step process — consult, design, install, configure, handover with training — means we test camera views at different times of day before finalising positions. If a camera cops direct afternoon sun, we move it, shield it or specify a WDR model before it's permanently mounted. That's the difference between footage that protects you and footage that frustrates you.
Common Glare Scenarios and How to Fix Them
| Scenario | Problem | Best Fix |
|---|---|---|
| East-facing front door | Blinded by morning sun | Mount to the side, angle across entry, use True WDR camera |
| Driveway facing street | Headlight washout at night | Mount on house side angled down driveway, enable HLC |
| Glass sliding doors | Reflections and backlighting | Position camera inside angled away from glass, or use external camera covering the approach |
| Camera under eave | IR bounce-back off soffit | Increase separation, tilt down, use Smart IR or external illuminator |
| West-facing wall | Afternoon sun flare | Sun shield, housing with shroud, or relocate to shaded position |
| Bright roller door opening | Silhouetted people and vehicles | True WDR 120dB+ camera with BLC tuned during setup |