
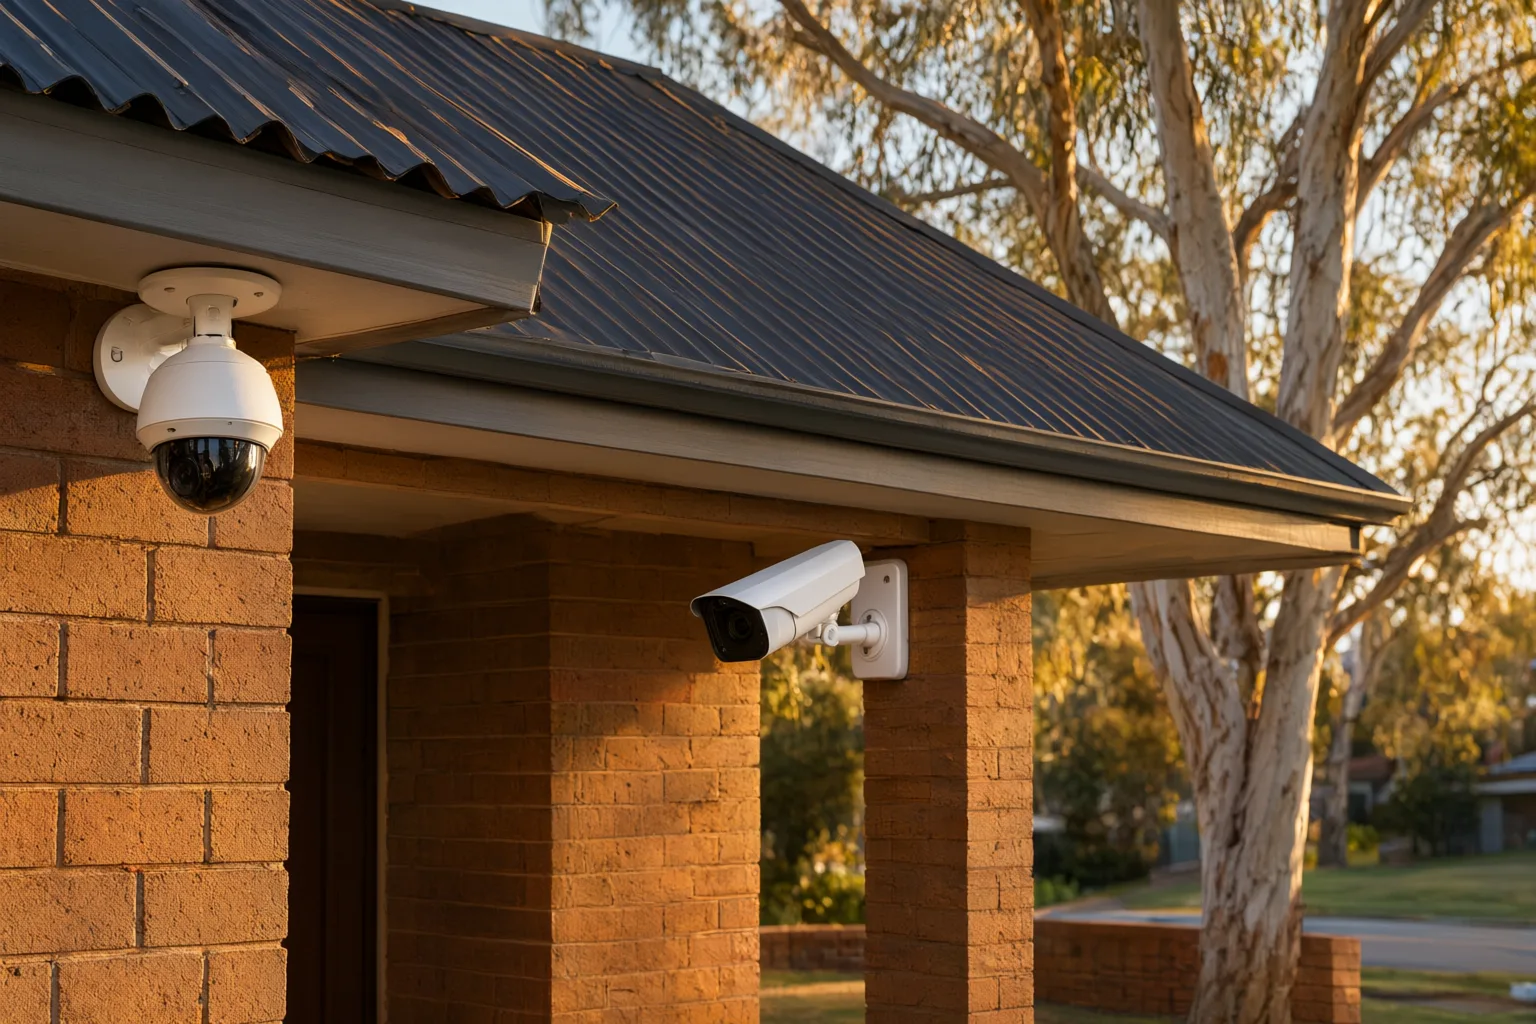
Key Takeaways
- Eaves mounting shields cameras from rain, sun and tampering while delivering wide overhead coverage.
- Wall mounting gives lower, more detailed angles — better for facial identification and number plates.
- Eaves installs usually mean easier, concealed cable runs through the roof cavity.
- Dome and turret cameras suit eaves; bullet cameras often perform best on walls.
- Australian conditions — harsh sun, coastal salt air, storms — make mounting position critical to camera lifespan.
- A professional site assessment maps the ideal mix of eaves and wall positions for full coverage.
Why Mounting Position Matters More Than Most People Think
When homeowners shop for CCTV, most of the attention goes to resolution, night vision and brand. But where the camera physically sits on your home has just as much impact on the footage you actually get. Mount a 4K camera in the wrong spot and you'll still end up with grainy tops-of-heads shots that are useless for identification.
The two most common mounting positions on Australian homes are under the eaves (the overhang where your roof meets the wall) and directly on the wall itself. Each has genuine strengths and real drawbacks. Understanding the trade-offs helps you have a smarter conversation with your installer — and avoid the classic mistake of cameras that look neat but miss the action.
The Pros of Eaves Mounting CCTV Cameras
For general deterrence and situational awareness — seeing that someone came up the driveway at 2am — eaves mounting is hard to beat.
- Weather protection: the eave acts as a hood, keeping direct rain and harsh UV off the camera body and lens, reducing water ingress and sun damage over time.
- Tamper resistance: at 2.7–3 metres high, eaves-mounted cameras are much harder for intruders to reach, spray-paint or knock down.
- Wide field of view: the elevated position lets a single turret or dome camera cover a whole driveway, side path or backyard.
- Concealed cabling: cables can usually run straight up into the roof cavity, so there's no visible conduit spoiling your brickwork or cladding.
- Cleaner look: cameras sit flush under the eave line and blend into the home's silhouette.
The Cons of Eaves Mounting
The downside of height is detail. From three metres up, faces are captured at a steep downward angle. You'll see a clear picture of a cap, a hood or the top of someone's head — exactly what a court or police report can't use. If identification is your goal, pure eaves mounting often falls short.
Eaves mounting can also be tricky on certain homes. Properties with no eaves (common with parapet walls and some modern flat-roof designs), very high two-storey rooflines, or steel-lined eaves with no roof cavity access all make installation harder. And while the eave shields the camera, spiders love building webs across lenses in sheltered spots — a nightly trigger for false motion alerts on cameras without smart detection like Hikvision AcuSense.
The Pros of Wall Mounting CCTV Cameras
Wall mounting places the camera directly on a vertical surface, typically at 2.2–2.5 metres — lower than eaves but still out of easy reach. That lower angle is the single biggest advantage: you capture faces front-on rather than from above, which dramatically improves identification quality.
- Better facial detail: a near-level viewing angle captures identifiable faces at doors, gates and entry points.
- Number plate capture: wall-mounted cameras aimed along a driveway can read plates far more reliably than overhead eaves shots.
- Flexible aiming: junction boxes and brackets on walls allow precise positioning, ideal for bullet cameras with varifocal lenses.
- Works where eaves don't: perfect for parapet roofs, garages, sheds, fences and commercial buildings.
- Easier servicing: cameras are reachable with a standard ladder for cleaning and adjustment.
The Cons of Wall Mounting
Exposure is the trade-off. A wall-mounted camera cops the full force of weather, so hardware quality matters enormously. This is where professional-grade gear from Hikvision, Dahua, Uniview or Axis earns its keep — IP66 or IP67 rated housings that survive storms, heat and salt air, unlike consumer DIY kits that fog up within a year.
Wall mounting also usually means more visible cabling. On brick veneer homes, cables often need to run in conduit up the wall to the roof cavity, which takes more labour and care to keep tidy. And because the camera is more visible and slightly lower, it can be marginally easier to tamper with — though at 2.4 metres with a secure bracket, the risk is still low.
How Australian Conditions Affect Your Choice
Local conditions should genuinely drive this decision. In coastal suburbs from Newcastle to Wollongong, salt air corrodes exposed fittings fast — eaves mounting with stainless fixings extends camera life significantly. In western Sydney's 40-degree summers, a camera baking on a sun-facing wall runs hotter and ages faster than one shaded under an eave.
Storm season matters too. Wind-driven rain hits walls horizontally, testing seals on any exposed mount. In bushfire-prone areas, ember attack makes enclosed eaves a consideration in the other direction — your installer may recommend metal conduit and specific mounting heights. A licensed NSW installer who works in these conditions daily will factor all of this into the design.
Which Camera Types Suit Each Mounting Position
Camera form factor and mounting position go hand in hand. Turret and dome cameras are the natural eaves choice — their ball-and-socket design aims downward cleanly, and models with ColorVu technology deliver full-colour night footage even from height. Bullet cameras, with their longer housings and sun shields, are built for wall mounting and excel at targeted views like gates and driveways.
For entry points where identification is critical, a wall-mounted camera at face height paired with an eaves-mounted camera covering the wider approach gives you both context and detail. Add ANPR-capable cameras for driveways on larger properties, and PoE (Power over Ethernet) cabling throughout for reliable, interference-free power and data.
The Best Answer Is Usually a Mix of Both
In practice, professional designs rarely pick one method exclusively. A typical four-camera home install might use three eaves-mounted turrets covering the perimeter and one wall-mounted bullet at face height near the front door or gate. That combination delivers wide deterrent coverage plus the close-up detail police actually need.
Getting this balance right is exactly what a proper site assessment is for. As part of our five-step process — consult, design, install, configure and handover with training — we walk your property, identify sight lines, check eave access and sun angles, and map each camera to the mounting position that suits its job. It's the difference between a system that looks good on the quote and one that actually protects your family or business.
Eaves Mounting vs Wall Mounting at a Glance
| Factor | Eaves Mounting | Wall Mounting |
|---|---|---|
| Typical height | 2.7–3.2 metres | 2.2–2.5 metres |
| Facial identification | Limited — steep downward angle | Excellent — near-level angle |
| Weather protection | High — sheltered by roofline | Lower — fully exposed; needs IP66+ housing |
| Tamper resistance | Very good — hard to reach | Good — slightly more accessible |
| Field of view | Wide overhead coverage | Targeted, directional coverage |
| Cable concealment | Easy via roof cavity | Often needs surface conduit |
| Best camera types | Turret, dome, ColorVu | Bullet, varifocal, ANPR |
| Best for | Perimeter and general coverage | Entries, gates, driveways, plates |