
Key Takeaways
- Mock-mount cameras at the real height — typically 2.4 to 3 metres on Aussie single-storey homes — before drilling any bracket holes.
- Re-running cable through an Australian wall cavity after a bad mount costs $90–$150 per hour in NSW labour, so always test first.
- Check every position three times: mid-morning, late afternoon western glare and after dark for infrared bounce.
- Under NSW privacy law, cameras must not record beyond your property boundary — angle testing confirms compliance before mounting.
- Identification shots need faces at 2.4–3 metres; above 4 metres you only capture heads, which angle testing exposes immediately.
- Aussie conditions matter: coastal salt air near Adelaide corrodes brackets, and bushfire ember zones rule out timber-eave mounts.
Why You Should Never Drill Before Testing a Camera Angle
The costliest mistake in home security isn't choosing the wrong camera — it's fixing it in the wrong place. Once a bracket is screwed into brickwork and cable is run through a wall cavity or ceiling space, changing your mind means patching holes, re-running cabling and paying for labour all over again. Across NSW we regularly attend jobs where cameras point at blank walls, gum tree canopies or directly into the afternoon sun, purely because nobody checked the view beforehand.
Professional installers treat angle testing as a design step, not an afterthought. On our first visit we never drill; instead we physically trial each proposed position so the final layout is proven before a single screw goes in. This guide explains exactly how that process works, so you can apply it to your own planning — or at least know what to expect from a proper site assessment.
What Does Testing a Camera Angle Actually Mean?
Testing an angle means standing a camera — or a stand-in for one — at the exact height and direction you intend to mount it permanently, then reviewing what it sees under real conditions. It is not enough to look from ground level and guess. Perspective changes dramatically with elevation: a spot that seems perfect from the driveway can be blocked by a gutter or eave once you're three metres up.
A proper test answers four questions. First, does the camera cover everything that matters — the front door, the gate, the driveway? Second, is the detail sufficient: can you identify a face, not just detect movement? Third, does the view survive different lighting conditions, including harsh Australian sun and total darkness? Fourth, is anything obstructing the frame now or likely to in future, such as growing foliage?
How Do You Test CCTV Camera Angles Without Committing?
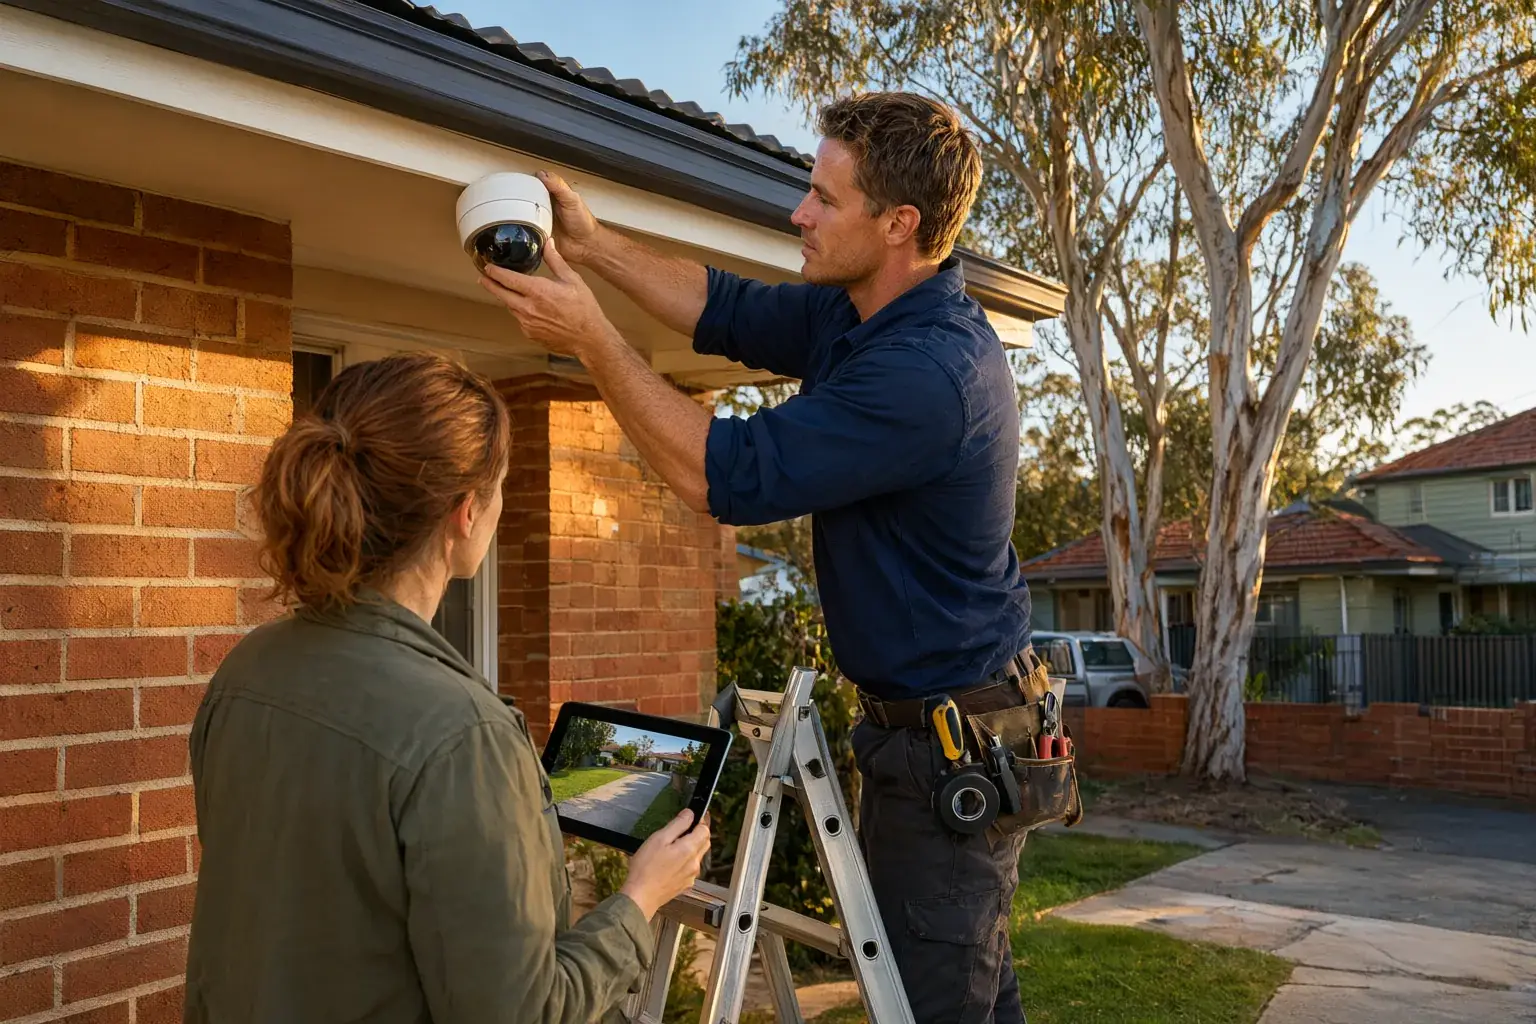
The simplest reliable technique is a temporary mock-up. Use a spare camera on a loose bracket, a telescopic pole, or even a smartphone taped to a painter's pole. The critical rule is that the lens must sit at the genuine [[what-is-the-ideal-mounting-height-for-home-security-cameras-in-australia|mounting height]] — typically 2.4 to 3 metres on a single-storey brick veneer home — and aim precisely where the permanent camera will point.
View the live feed on a phone or monitor while someone holds the camera steady. Then walk the coverage zone yourself: approach the front door as a visitor would, walk the driveway, cut across the yard. You're checking whether the camera captures what you actually need — a recognisable face at the door, a legible plate at the gate — rather than a vague wide shot of the street.
If you plan to use a varifocal lens, run the test at both its widest and tightest settings. The results determine which focal length each position ultimately needs, so this step directly shapes your equipment list.
- Hold the test camera at the true final height, never at eye level
- Walk every path a visitor or intruder would take through the frame
- Confirm faces are identifiable within roughly 3 to 5 metres of entry points
- Check number plates are readable where vehicles stop or slow down
- Scan for obstructions: downpipes, pergola beams, foliage, festive lighting
Should One Daylight Check Ever Be Enough?
An angle that looks flawless at 10am can be useless by 4pm when low western sun floods straight into the lens, or after dark when infrared LEDs bounce off a nearby wall and wash out the entire image. Australian sunlight is intense, and homes across western Sydney and the coast cop strong low-angle glare for much of the year.
Return to each candidate position three times: mid-morning, late afternoon and after dark. At night, look specifically for IR bounce from eaves, soffits and pale render close to the lens — this is the single most common cause of foggy night footage we're called out to repair. [[eaves-mounting-vs-wall-mounting-pros-and-cons-for-cctv-cameras|Cameras]] with strong wide dynamic range (WDR), such as Hikvision ColorVu or Dahua Full-Colour models, cope far better with backlit doorways, but no sensor technology fully rescues a poorly chosen angle.
Which Lens and Camera Type Suits Your Test Results?
Your mock-up tells you which hardware each position requires. A wide 2.8mm lens suits a courtyard or open-plan retail floor, but it cannot deliver a usable face shot of someone standing at a gate 15 metres away — that job needs a tighter 6mm or 12mm lens, or a varifocal you fine-tune on site after testing.
This is where professional-grade features earn their keep. Hikvision AcuSense and Dahua WizSense cameras allow detection zones to be drawn to match your proven coverage, so alerts fire on people and vehicles where they matter rather than the neighbour's cat crossing the fence line. For driveways and gates, ANPR cameras demand a shallow, head-on angle to plates — generally under 30 degrees — which is practically impossible to achieve without physically testing the position first.
Do Height, Boundaries and Privacy Laws Affect Placement?
[[how-high-is-too-high-the-trade-off-between-vandal-proofing-and-image-detail|Mounting height]] is the classic error. A camera fixed at 5 metres sees the tops of heads, not faces, defeating the purpose of identification coverage. Keep identification cameras between 2.4 and 3 metres, reserving higher positions for broad detection over driveways and yards.
Boundary awareness matters too. Aiming across a property line captures the neighbour's yard and raises privacy concerns under NSW surveillance expectations, so keep coverage inside your own boundary wherever possible. Physical obstructions are another recurring problem: a downpipe or Colorbond gutter slicing through half the frame is easily avoided during a test but frustrating to discover after installation.
Can Australian Conditions Change Your Camera Angles?
Local environment shapes placement decisions well beyond simple sightlines. In bushfire-prone areas, ember attack and radiant heat rule out certain mounting spots entirely, particularly near timber eaves or vegetation. On coastal properties, salt air corrodes standard fittings quickly, so we favour sheltered positions and corrosion-resistant brackets to extend equipment life.
Seasonal changes count as well. Deciduous trees, summer growth and even temporary decorations like Christmas lights can block a frame months after a seemingly clear test. A thorough assessment accounts for how each view will change through the year, not just how it looks on installation day.
Are These Common Mistakes Caught by Angle Testing?
After hundreds of installations across Sydney, the Central Coast and regional NSW, the same errors appear repeatedly. Mounting too high tops the list, followed by aiming across boundaries, ignoring afternoon glare and overlooking IR bounce. Others include framing a gate without covering the approach path, placing cameras where spider webs and insects attract IR light, and forgetting that a car parked in the driveway blocks the view of the street.
Every one of these faults is invisible from ground level on a single daytime visit. The mock-up method exposes them all before drilling begins, which is precisely why professionals insist on it.
Is a Professional Site Assessment Worth It in Newcastle or Adelaide?
When our licensed installers assess a property, angle testing is built into the design stage. We map entry points, sightlines and lighting conditions, test-mount cameras at each proposed position, review live and recorded footage with you, and only then finalise the layout. Every camera ends up with a defined role — identification at the door, detection across the yard, plates at the driveway — with no dead zones left behind.
Because we're fully licensed and insured in NSW and back every job with lifetime support, the agreed design is documented and installation follows a five-step process: consult, design, install, configure, and handover with training so you know exactly how to operate your system. If you're planning a new setup or upgrading an old one, book a free quote and we'll prove every angle before anyone touches a drill.
Pre-Drill Verification Checklist by Mounting Location
| Location | Recommended Height | Primary Goal | Key Test Before Drilling |
|---|---|---|---|
| Front door / entry | 2.4–3 m | Face identification | Face is clear and lit at the door, day and night |
| Driveway / garage | 2.5–4 m | Number plates and vehicles | Plates readable where cars stop; angle under 30° for ANPR |
| Side access / gate | 2.4–3 m | Detect anyone entering | Full approach path covered; no fence or foliage blocking frame |
| Backyard / alfresco | 2.5–3.5 m | Wide area detection | No IR bounce from walls; pet zones excluded from alerts |
| Perimeter / fence line | 3–4 m | Early intrusion warning | Coverage stays inside your boundary; glare checked at dusk |