
Key Takeaways
- Map every camera position back to your NVR before drilling a single hole
- Roof cavities and wall cavities offer the cleanest hidden cable routes
- Use conduit and weatherproof glands for any externally exposed cable sections
- Cat6 Ethernet with PoE simplifies cabling by combining power and video in one run
- Keep cable runs under 100 metres to maintain signal integrity on IP systems
- Licensed installers ensure compliance with Australian cabling regulations
Why Cable Planning Makes or Breaks Your CCTV Installation
The difference between a professional CCTV installation and an amateur one rarely comes down to the cameras themselves. It comes down to the cabling. Visible wires running along external walls, dangling cables under eaves, and messy connections at junction boxes instantly cheapen the look of your property and signal to potential intruders exactly where your system lives.
A well-planned cable run keeps every metre of wiring hidden inside roof cavities, wall spaces, or sealed conduit. It protects your cables from UV damage, moisture, rodents, and deliberate tampering. In Australian conditions, where summer heat in roof spaces can exceed 60 degrees Celsius and coastal salt air corrodes exposed connections within months, proper cable planning is not just about aesthetics. It is about system longevity and reliability.
Before any drilling begins, a licensed installer will walk your property and map the most efficient route from each camera position back to the NVR or DVR location. This planning phase typically takes 30 to 60 minutes and saves hours of frustration during installation.
Start With a Site Map of Camera and NVR Positions
Every clean CCTV installation begins on paper. Sketch a rough floor plan of your property and mark where each camera will be mounted. Then identify where your NVR will live. This is typically a locked cupboard, a home office, or a garage shelf with adequate ventilation and a nearby power point.
Once both endpoints are marked, trace the shortest practical path between them. In most Australian homes, particularly single-storey brick veneer properties with accessible roof cavities, the ceiling space is your best friend. Cables can run from the NVR location up through a wall cavity, across the roof space, and drop down at each camera position with only a small, neatly drilled hole visible at the eave or external wall.
For two-storey homes, the planning becomes more complex. Upper-floor cameras may need cables routed through the wall cavity between floors or along external conduit painted to match your Colorbond or brick colour. A professional installer will assess access points, insulation type, and any fire-rated walls that require special sealing.
Choosing the Right Cable Type for Your System
The cable you choose determines both the quality of your footage and how easily it can be concealed. For modern IP camera systems, Cat6 Ethernet cable is the standard choice. It carries both power and video data through Power over Ethernet, meaning you only need one cable per camera. This halves the number of runs you need to hide and simplifies the entire installation.
Cat6 supports runs up to 100 metres without signal degradation, which covers the vast majority of residential and small commercial properties. For longer runs on rural properties or large warehouses, a PoE extender or fibre optic link may be necessary.
For older analogue systems, RG59 coaxial cable with a separate power cable is still used, though most professional installers now recommend upgrading to IP. If you are running cables through areas with high electromagnetic interference, such as near large motors or switchboards, shielded cable or conduit provides additional protection.
Best Routes for Hiding CCTV Cables in Australian Homes
The most common concealment routes in Australian residential installations include roof cavities, wall cavities, under-floor spaces in homes with raised timber floors, and along fence lines in buried conduit for detached structures like sheds or granny flats.
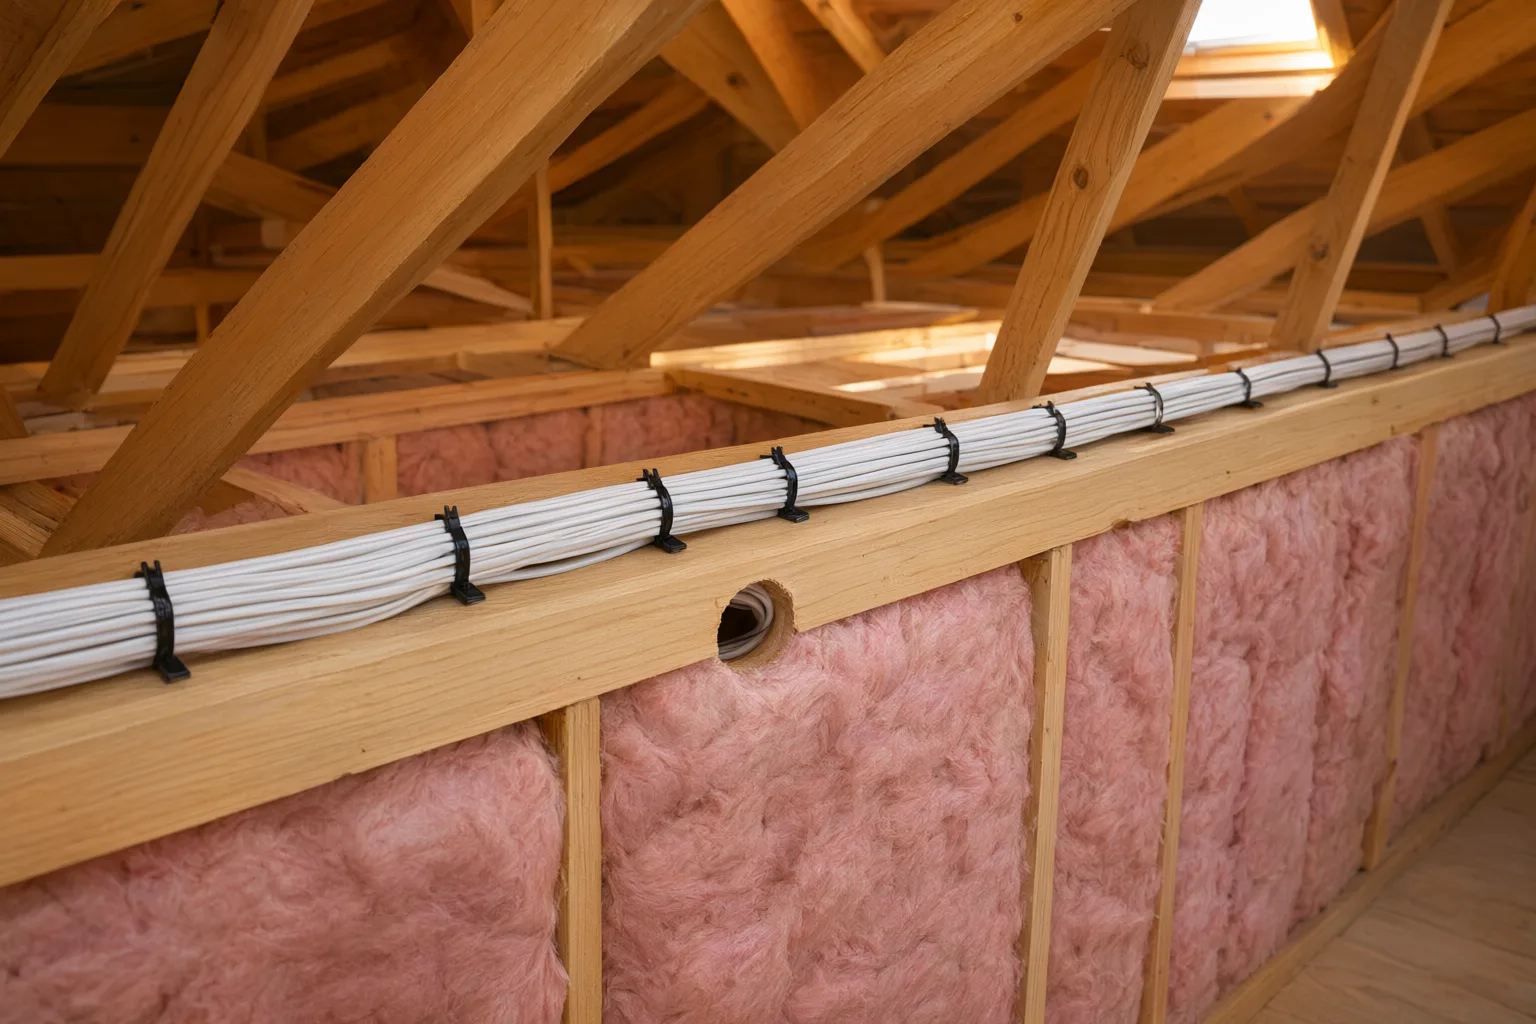
Roof cavities are the gold standard for single-storey homes. Your installer will enter through the manhole, run cables along the top plate of internal walls, and drill down through the external wall top plate to reach each camera position. The only visible evidence is a neat bead of colour-matched silicone sealant around the camera base.
Wall cavities work well when the camera is mounted directly below the roof line. The cable drops straight down from the roof space through the cavity and exits at the camera mounting point. This requires a stud finder to avoid noggins and any existing wiring or plumbing inside the wall.
For external runs that cannot be avoided, such as crossing from the main house to a detached garage, UV-stable conduit is essential. Choose conduit that matches your wall or eave colour, or paint it after installation. Secure it with saddle clips every 600 millimetres to prevent sagging and wind movement.
- Roof cavity: ideal for single-storey homes, completely invisible from outside
- Wall cavity: clean vertical drops from roof space to camera position
- Under-floor: suitable for raised timber homes with accessible subfloor
- Buried conduit: required for runs to detached buildings, dig to 300mm minimum
- External conduit: last resort, always use UV-stable and colour-matched
Weatherproofing and Protecting Cable Entry Points
Every point where a cable passes through an external wall or eave is a potential entry point for water, insects, and rodents. Professional installers use weatherproof cable glands or silicone-sealed grommets at every penetration. In coastal areas from Byron Bay to Wollongong, salt air accelerates corrosion on any exposed metal connector, so sealed junction boxes with IP66 or higher ratings are essential.
Bushfire-prone zones add another layer of consideration. Cables running through roof spaces in BAL-rated areas should be routed away from potential ember entry points, and any external conduit should be metal rather than PVC to resist radiant heat.
Rodent damage is one of the most common causes of CCTV cable failure in Australian homes. Rats and possums in roof cavities will chew through unprotected cable insulation. Running cables through flexible conduit or securing them tightly along timber framing with cable clips reduces the risk significantly.
Common Cable Planning Mistakes to Avoid
The most frequent mistake in DIY CCTV installations is running cables along the shortest visual path rather than the shortest concealed path. A cable stapled along an external wall might save 20 minutes during installation, but it looks unprofessional, deteriorates faster in direct sunlight, and can be cut in seconds by anyone with basic tools.
Another common error is exceeding the 100-metre limit on Cat6 runs. This causes intermittent dropouts, reduced video quality, and cameras that randomly disconnect. Always measure the actual cable path, including vertical rises and detours around obstacles, rather than estimating the straight-line distance.
Finally, never run CCTV cables in the same conduit or bundle as 240V mains wiring. This violates Australian cabling standards, creates interference on analogue systems, and poses a genuine safety risk. Maintain at least 50 millimetres of separation between low-voltage data cables and mains power.
Why Professional Installation Delivers a Cleaner Result
A licensed CCTV installer brings tools and experience that make hidden cable runs faster and cleaner. Flexible drill bits reach through wall cavities without removing plasterboard. Inspection cameras identify obstructions before drilling. Cable rods and glow rods push wiring through roof spaces without the installer needing to crawl into every corner.
At Aussie CCTV Cams, our five-step installation process begins with a detailed site consultation where we map every cable route before any work begins. We use professional-grade Hikvision and Dahua hardware with PoE to minimise cable count, and every external penetration is sealed and weatherproofed to withstand Australian conditions. Our installations are fully licensed and insured, and every job includes lifetime support.
CCTV Cable Types Compared for Hidden Installations
| Cable Type | Best For | Max Run Length | Power + Video in One | Concealment Ease |
|---|---|---|---|---|
| Cat6 Ethernet (PoE) | Modern IP camera systems | 100 metres | Yes | Excellent, single thin cable |
| Cat5e Ethernet (PoE) | Budget IP installations | 100 metres | Yes | Excellent, slightly thinner |
| RG59 Coaxial + 12V | Legacy analogue systems | 150 metres (video) | No, two cables needed | Moderate, thicker bundle |
| Fibre Optic | Long rural or commercial runs | Up to 2 km | No, data only | Requires specialist termination |